|
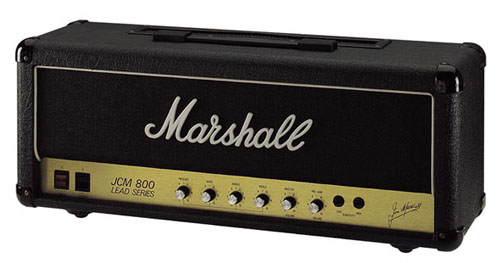
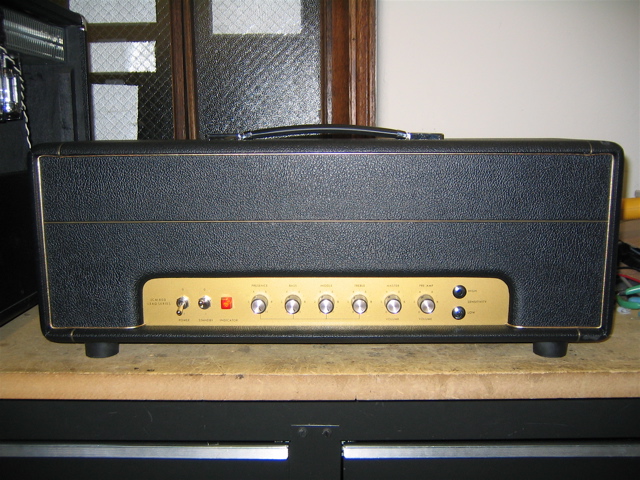
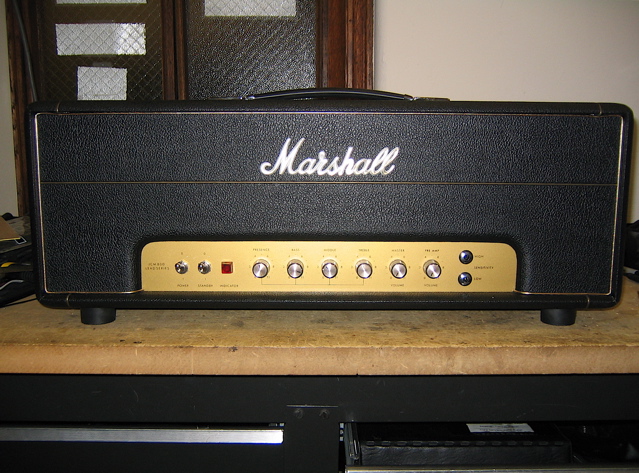
JCM800 2204 "Prototype" Amp BuildFor a long time I have wanted to build an amp. I just finished reading a book called The Guitar Amp Handbook by Dave Hunter and that not only got me excited about the build, but also provided me with a grip on the basic principles of tube amps. I have been a studio tech for a long time so I can read schematics and solder very well. Being 41, I thought the time was now or never. I am actually playing in a band again (The Hornrims) so I thought I would be able to build the amp and actually test it in a live situation.What model to build? There are plenty of Fender kits out there but I have never been a Fender guy. From 1989 to the present I have always had a Mesa Boogie of some sort. From 1989 to 1997 I had a Mark III. Then I downsized to a Boogie DC-3. Most recently I have been playing through an old .50 caliber +. But all of the years playing with my old bands Joe Popp and dogs on ice when we had to share a rented backline, there was usually a Marshall JCM800. After those shows, people would say, "Man, your guitar sounded good tonight". I always liked the Marshall sound but it always seemed onesided to me - I chose the practical Boogie that could do more sounds. What I have realized after all of these years is that all you really need is one sound if it is a good one! And in all honesty, it isn't one sound either. If you learn how to work the volume knob on your guitar it can actually cover quite a range of sounds. I didn't think I would be able to find a JCM800 kit because most people build JTM45s and Plexis. So I thought I would build the Plexi and add a master volume. After some internet research, I found a company in Maylasia called Ceriatone that had a JCM800 kit! I was really stoked and contacted Nik Azam the owner of the company. Nik was immediately friendly and generous and spent a great deal of time dicussing gain characteristics and tones of different amp kits he sells. I decided on the JCM800 2204 HW Package 2 which included all of the parts to build the amp with the exception of tubes. Nik gave me a great price on a complete amp, but I told him I wanted to build it myself from the kit. I sent him the money and before you know it, a box full of shrink wrapped parts was sitting on my workbench. It looked somewhat intimidating, but I have seen many websites of people that have built amps so I figured I could tackle it. I am a studio tech by trade, so I solder very well and I can read schematics. I am no electronic wizard (that role belongs to my brother John), but I am meticulous and have a good technical aptitude. *Note that there are no step by step instructions in Ceriatone kits. You must download a layout fron the Ceritone website. The kit was very neatly packaged and organized well. *Note: This kit is JCM guts but it is housed in a JTM45 style chassis which I actually like better than the original JCM800 chassis that runs all the way along the bottom of the head cabinet. This is what an original JCM800 looks like (picture of a reissue). Notice the chassis difference from mine at the top of the page.
*Note: You will see parts that appear and disappear. That is because I missed some things and had to go back . I will note where mistakes are made Here is my here is my journey into the vortex of amp building:
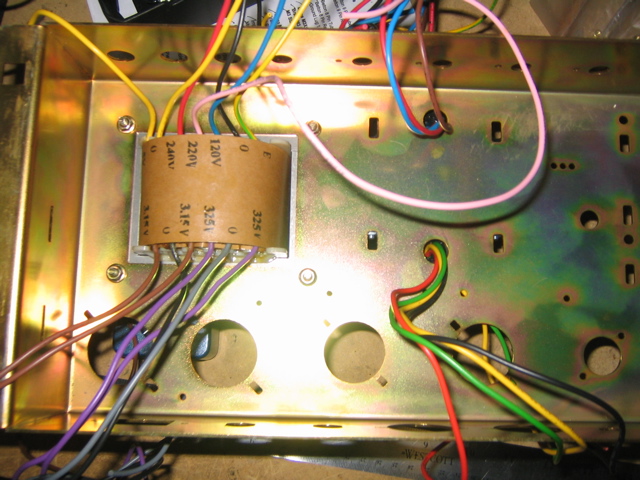
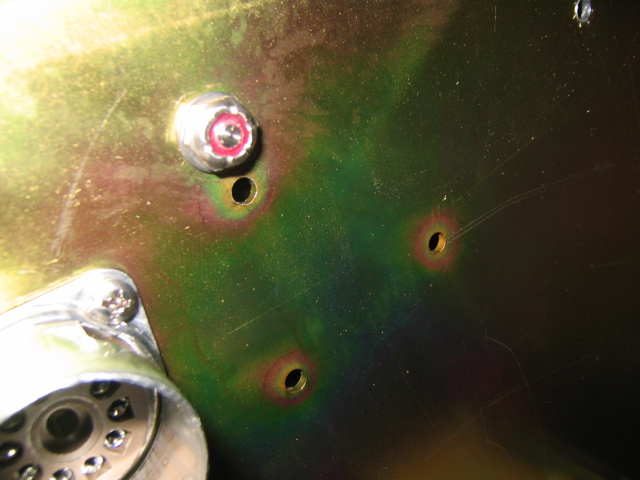
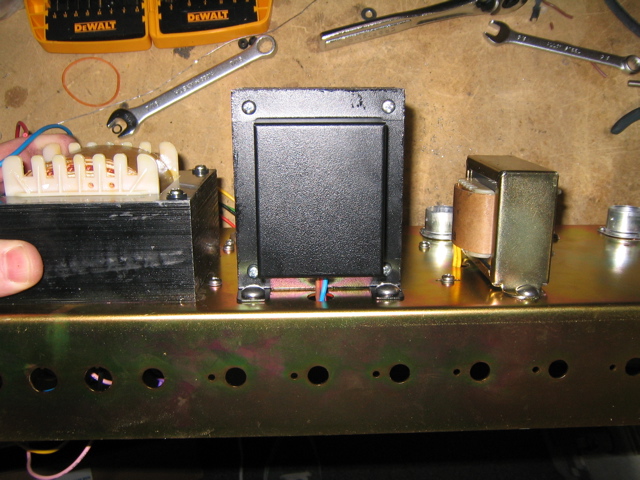
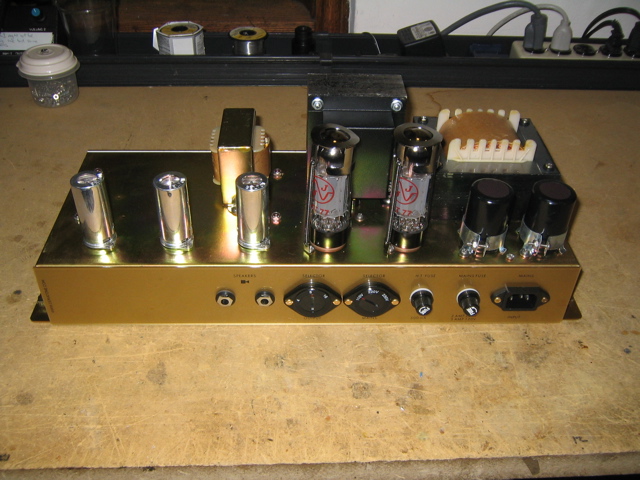
03.23.07 The first thing I did was mount the power transformer. I had to use the stock bolts because I couldn't find any stainless that would fit. I can live with that. *Mistake: Forgot to attach the grounding lugs for the star ground. Step 1 and I already screwed up!
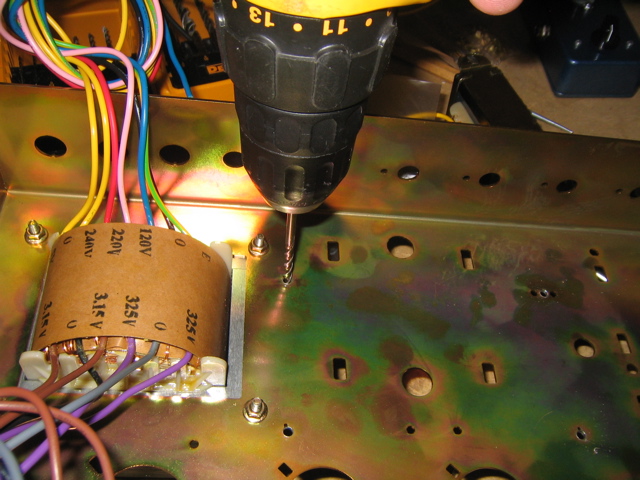
*Mistake: If you are going to do this mod, do it before mounting the transformer or you might drill through it!
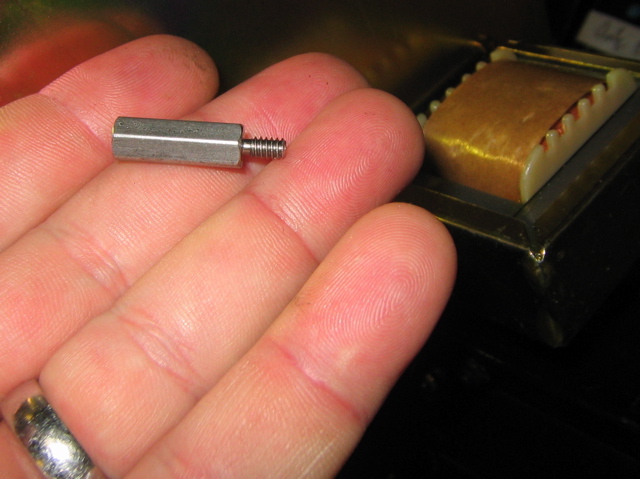
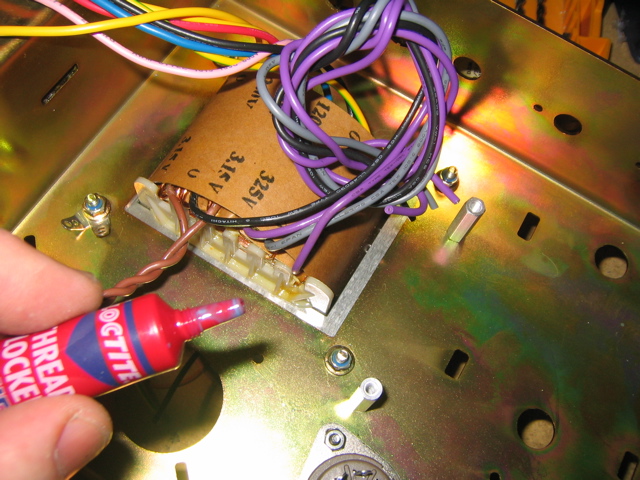
03.26.07 I didn't have any Nylok nuts for the transformer bolts so I used some Loctite to keep them from backing off. Notice I got the grounding lugs on for the star ground on the bottom left transformer bolt.
*Mistake: The kit included grommets that fit around the holes where the wires feed through to keep the wires from being cut on the chassis. I installed these later.
03.27.07 Following the layout I ran all of the heaters to the tube sockets. Man, my bench is a mess!
03.29.07 Next, I ran the wires from the output transformer and the choke.
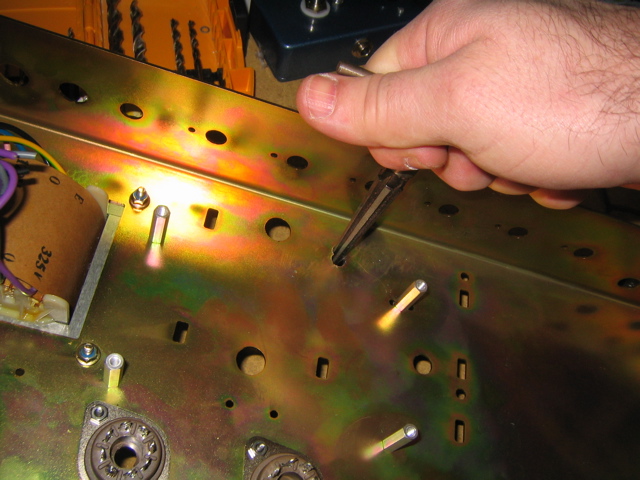
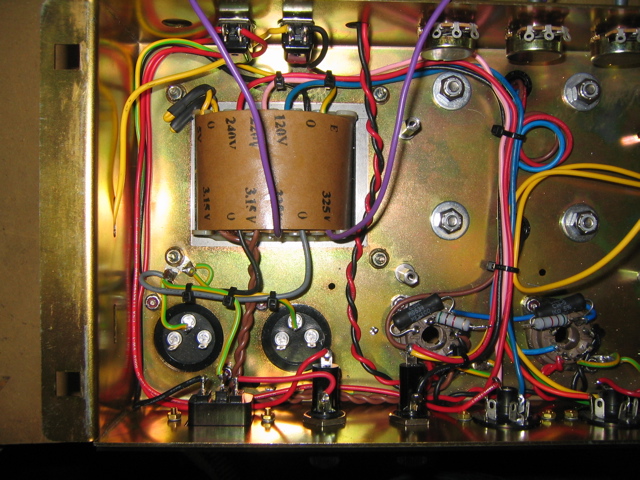
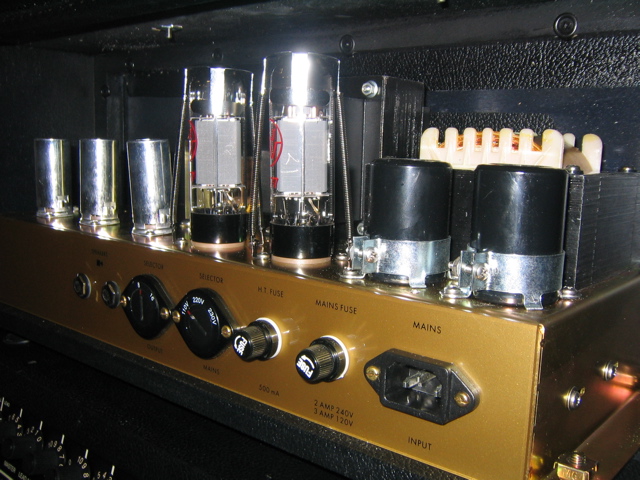
03.30.07 Next I bolted in the 2 lower cap cans (large multi-section capacitors on the left filling the 2 holes below the transformer) and just started soldering up the components as indicated by the layout. I then soldered in the black 1K 5W resistors on the power tube sockets pins 4 and 6 and the 5.6K 2W resistors to pin 5. I bolted in the switches and ran the wires according to the layout. The IEC power connector was put in and soldered as well as the fuses. I checked carefully to be sure the fuse holder had the right value fuses. I also checked continuity of the fuses using my trusty multi-meter.
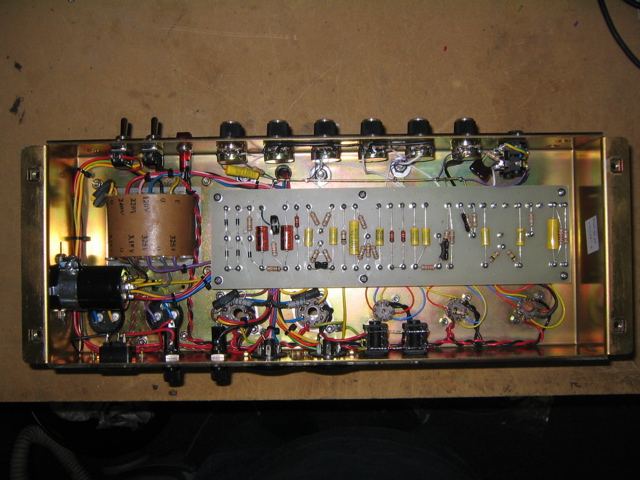
04.06.07 The circuit board was pre-assembled by Nik at Ceriatone. I wish I could take credit for it but I can't. The circuit board comes ready to be installed with the leads already soldered to the board so you just have to drop it in and solder each lead to the chassis components as indicated in the layout. Here is what one of Nik's boards looks like. This is actually a Plexi 50 board but you get the idea about how it is pre-configured with the leads attached.
*Note: I later changed all of this wire routing completely to track down a hum.
I plugged in a Washburn N2 (a guitar my boss won in a contest that we leave around for testing) and low and behold sound!!! I was ecstatic! I couldn't believe that it worked. I would begin testing it more in depth on Monday.
04.09.07 I decided to go ahead and put it into the small box Marshall Style head cabinet that I got from Port City Music made by a company called Mojo. It took a lot of careful measuring to get the chassis holes drilled just right. Today I took the amp to the recital hall along with my Boogie and decided to really ring it out. I brought my booster pedal (I also built this too), and set up as I would if I were playing live. The amp sounded amazing! It totally destroyed my Boogie as far as the tone I was searching for. Granted the Boogie is 16 years old and the JCM is brand new! The problem I had with the Boogie is that the clean channel is too clean and the lead channel is too high gain. I prefer the old Angus Young style crunch sound of a Marshall being turned up all the way. The JCM gave me this and much to my surprise when I rolled off slightly on the volume knob, it gave me a slightly dirty clean that I have been looking for too. But all was not perfect in my tube amp paradise, I noticed a pretty good hum coming out of the JCM800 that got louder as I turned the amp up. The Boogie was so much quieter. I knew I could fix it but I was ready to rock this thing now! I knew I couldn't use it as my main rig unless it was up to my standards. So I called it a day and somewhat dejected, pulled the amp from the cabinet and placed it on my workbench. It looked gorgeous sitting there like Dr. Frankenstein's creation, but that hum...
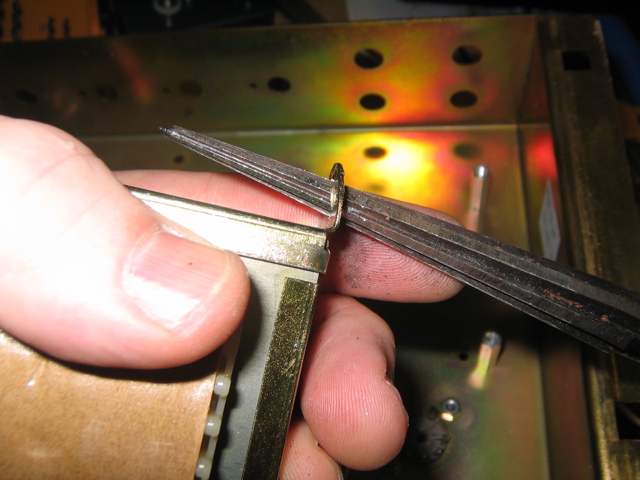
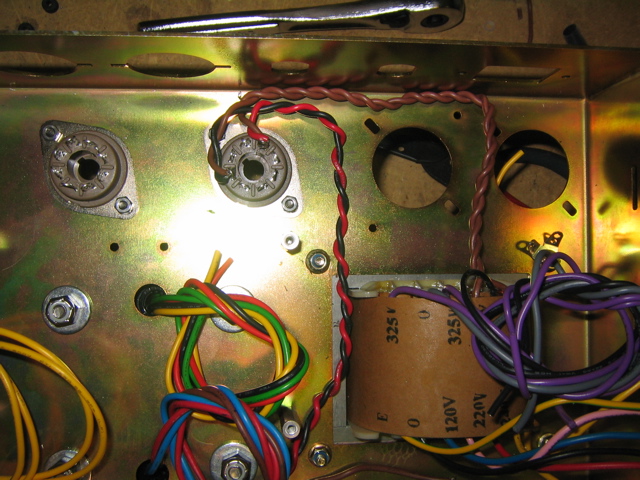
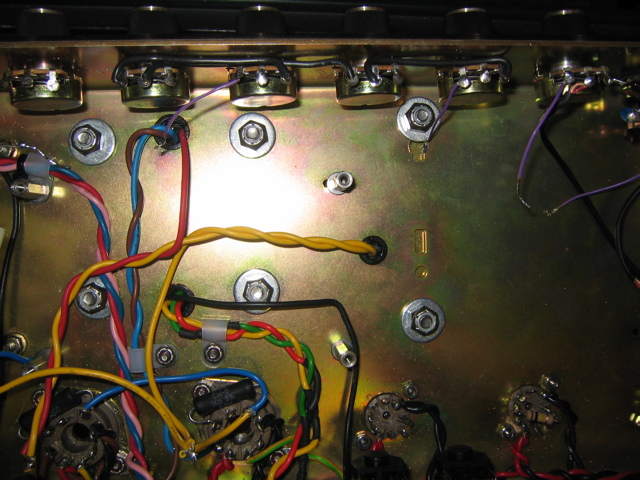
04.10.07 After doing a ton a research throughout the night and sending a few dozen emails to Nik at Ceriatone, I had some ideas to correct the problems of the amp. I shortened and moved the 325 volt taps to get them away from the input pots. I also shortened many other runs and removed the cable guides I installed to provide for a neat wiring job. I plugged the amp back into the Boogie speaker after a few hours of work and the hum was slightly less but not much better. Back to the proverbial drawing board.
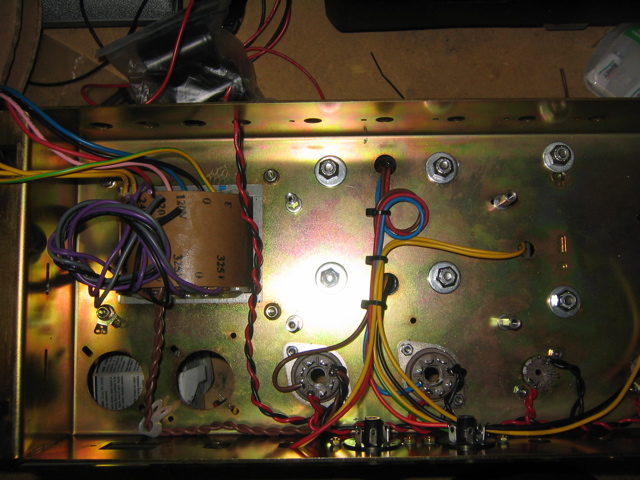
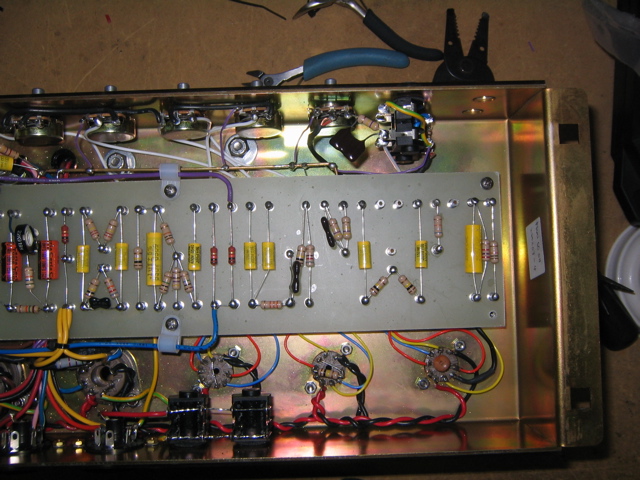
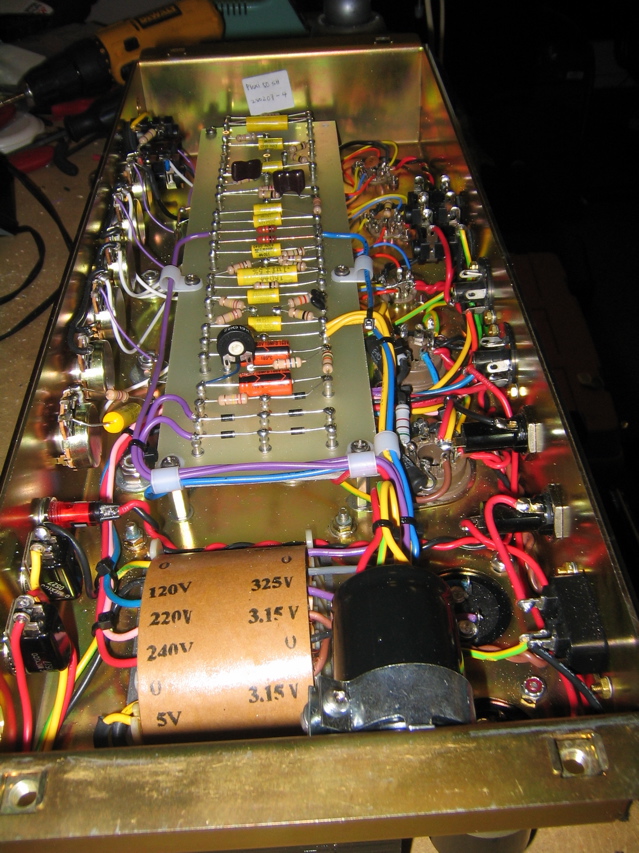
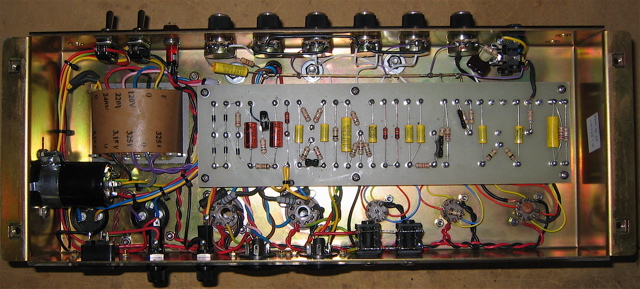
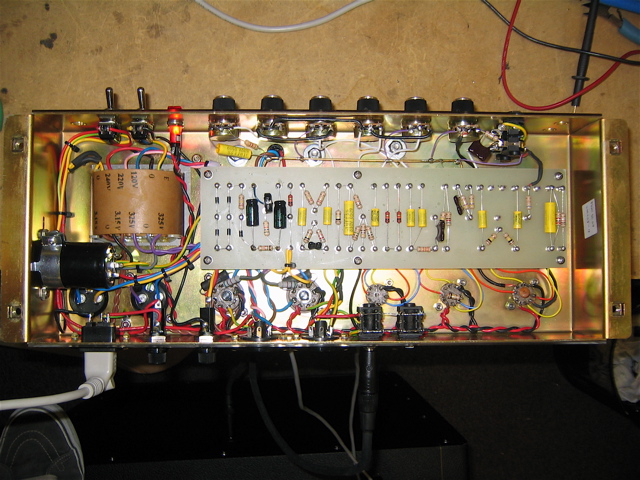
04.16.07 I did another huge glob of research and learned that I needed to twist more wires than just the heaters. I also found out that sometimes the output transformer wires and the power transformer wires do not like to be bundled together. So I totally unwired the board, pulled it out of the chassis, and started almost from scratch. I made neat twists of all of the transformer wires and even braided the output transformer wires. I shortened and neatened and I even added some more shielded wire to signal runs as Nik had suggested. Here is a picture with the board out.
Drats! I thought to myself, back to the drawing board for the third time...
04.17.07 I burned my last few drops of midnight oil last night and all I could come up with was that maybe the tubes I selected were faulty. I read on 18Watt.com how to troubleshoot the hum by removing preamp tubes. If the hum goes away when you pull a specific preamp tube, the hum is in the preamp section of the amp. I decided I would give this a shot. I removed the Tung Sol V1 tube and the hum vanished! I thought this was because I interrupted the signal. I plugged in another tube, an Electro Harmonix 12AX7 and unbelievably the amp was quiet!!! I don't mean less hum, I mean no hum! I danced around my tiny work area and was completely elated. I had rewired 3 imes and it was just a lousy Preamp tube. Well live and learn. It is a wonderfully wired amp though after all of the perfecting. I put the amp back into the cabinet and felt extremely satisfied.
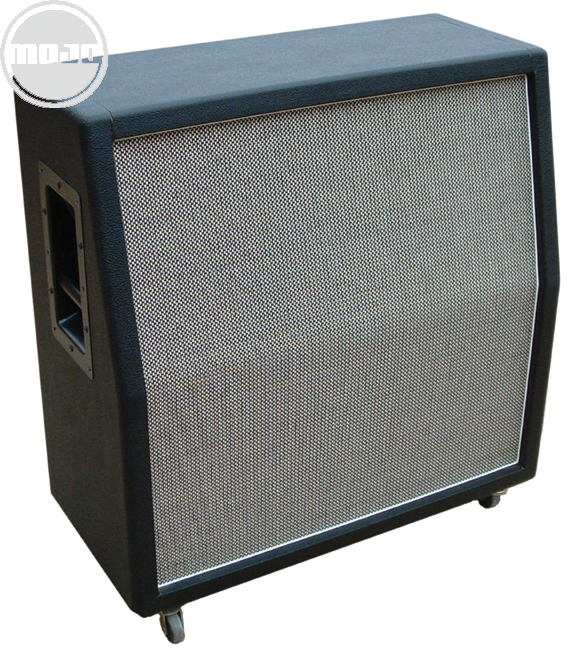
04.19.07 I played with the amp for a few days with some cabinets from where I work but decided that I need my own cabinet for doing gigs with my new band The Hornrims. I did exhaustive research because I was looking for a small cabinet that would house two 12 inch speakers but still have the classic Marshall look to match the head. I found a few things that got close but decided on a Mojo 2X12 that is simlilar in size to a Marshall 2061CX but slightly wider to line up with the dimensions of the Small Box plexi Head cabinet. I ordered one from Port City Music. It will be a pain to drag it around but it looks so dang cool that I couldn't pass it up!
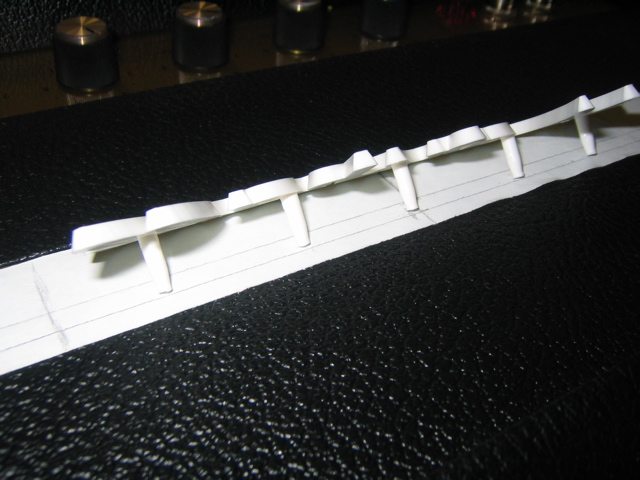
04.24.07 I scored some pretty decent Marshall logos on eBay and they were expensive! The gold paint on the was spotty in places so I repainted it with a gold paint pen. I carefully measured the holes for the logo as I didn't want to mess up and have a crooked logo. I decided to use white artists tape to mark the holes. I then used a 1/8" drill bit to drill the holes and just popped the logo on.
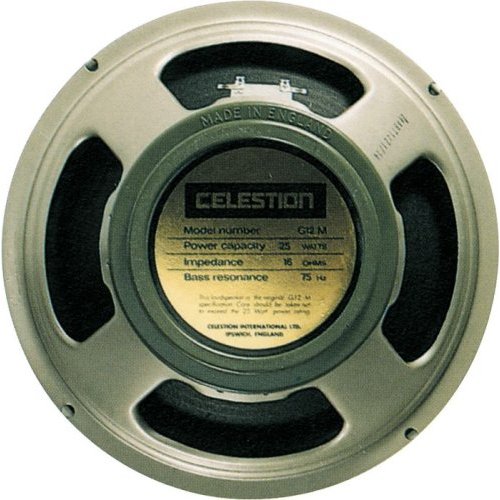
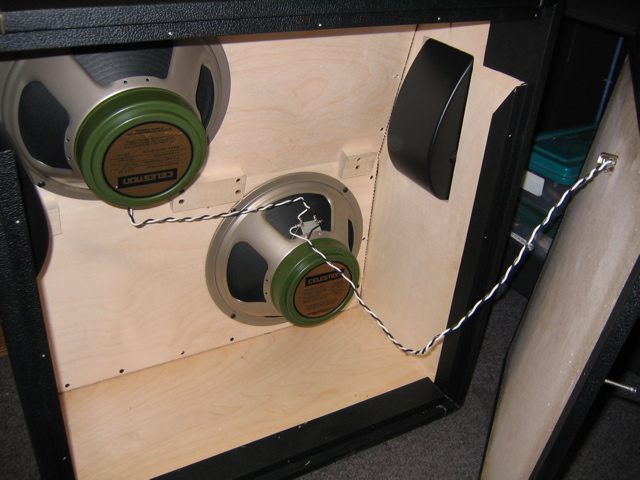
On a whim I did a search on Craig's List for "Celestion" and found a really cool dude in Brooklyn that had 4 Celestion Greenbacks in 16 ohm just like I needed! He cut me a great deal on the speakers and I bolted them together with the cones facing each other and carried them home on the train.
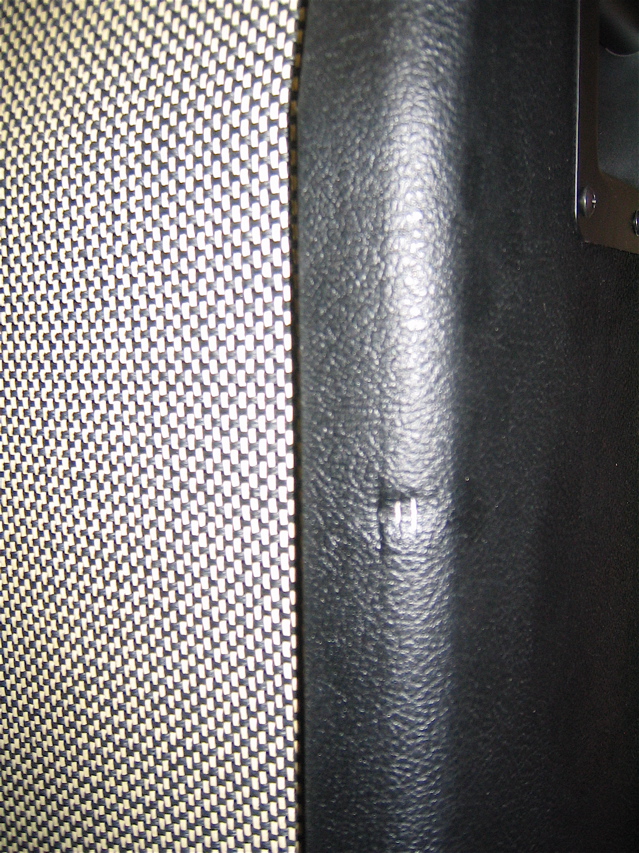
04.25.07 My cabinet arrived today and I was excited but it had a ding in the front so that kind of bummed me out. I figured I'd file a claim and get a small repair settlement instead of returning the cabinet. I would probably cause that much damage on my first gig anyway.
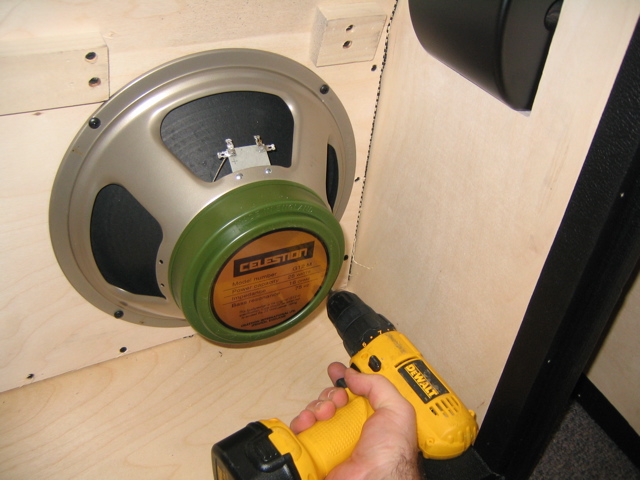
04.26.07 I wired up the speakers with some Belden 16 Gauge speaker wire. Some people go overboard with speaker wire gauge (I used to be one of them). trust me - 16 Gauge is plenty big for this distance.
04.27.07 The amp sounds incredible! I can not really crank it because it is in my office at work but I will do some advanced testing and record some clips.
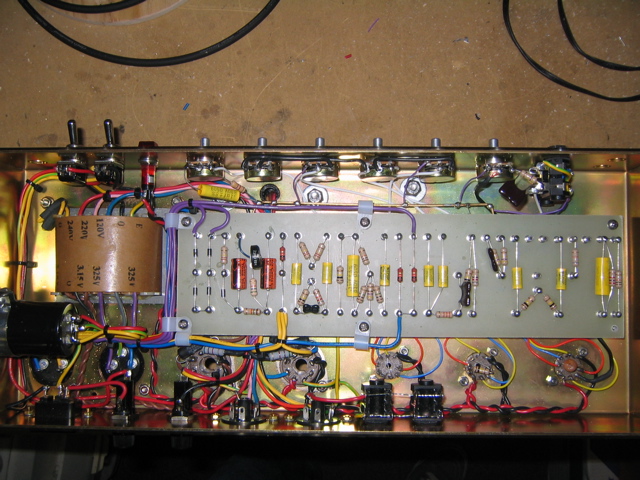
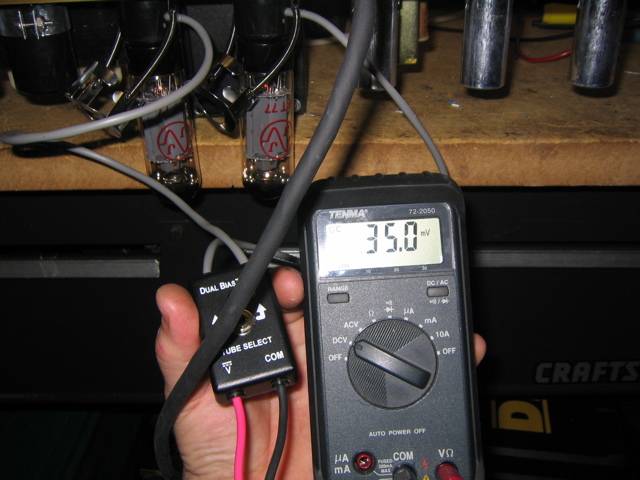
05.01.07 I had the chassis out and decided to experiment with some parts. I replaced the 2 orange Ceriatone caps with Sprague Atom caps. They are the black caps with green letters to the left of the circuit board. I rebiased the amp and fired it up. I didn't notice any tonal difference but the Atoms are supposed to be the best in this position. Geez, I'm a nut!
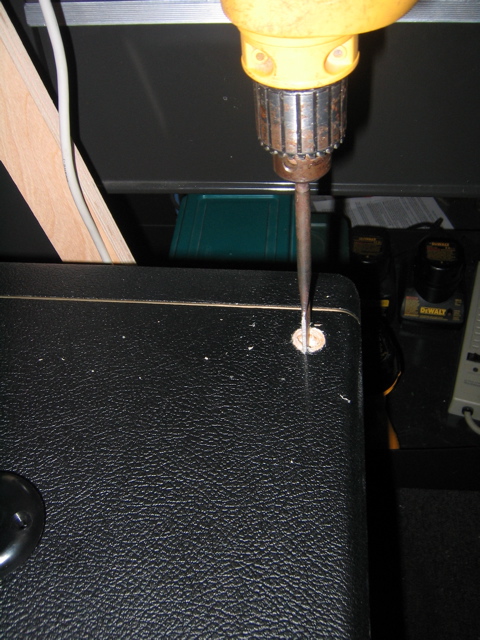
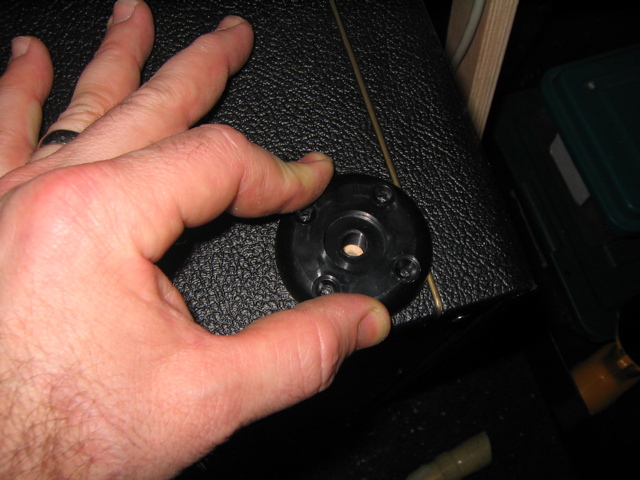
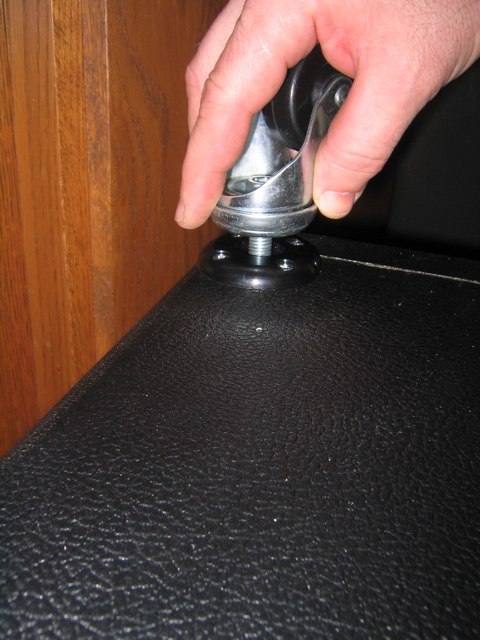
05.08.07 I have been pretty busy at work so I have not had much chance to test the amp. I ordered some wheels off of eBay and here is the installation. These are the real Marshall wheels. They are cool because if you remove the wheel, the socket becomes an skid. Maybe that's why they cost me $60! They sell in stores for $20 each. Ouch! I removed the rubber feet and used the screw hole as a pilot to drill a 3/4" hole for the wheel socket to fit into. I used a wood spade bit
Now I have a rolling set up with reall Marshall casters that when removed make nice carpet sliders. Sweet!
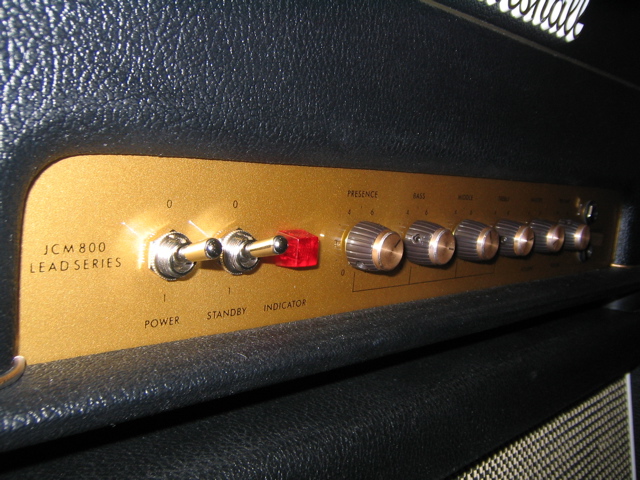
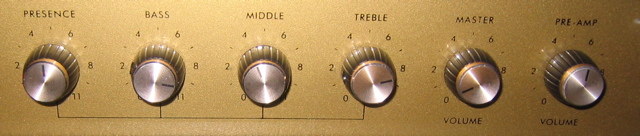
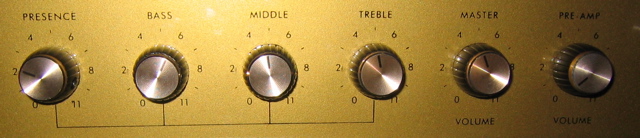
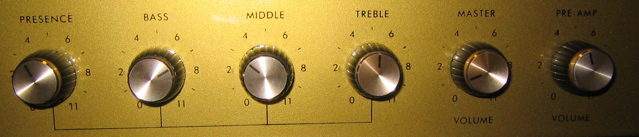
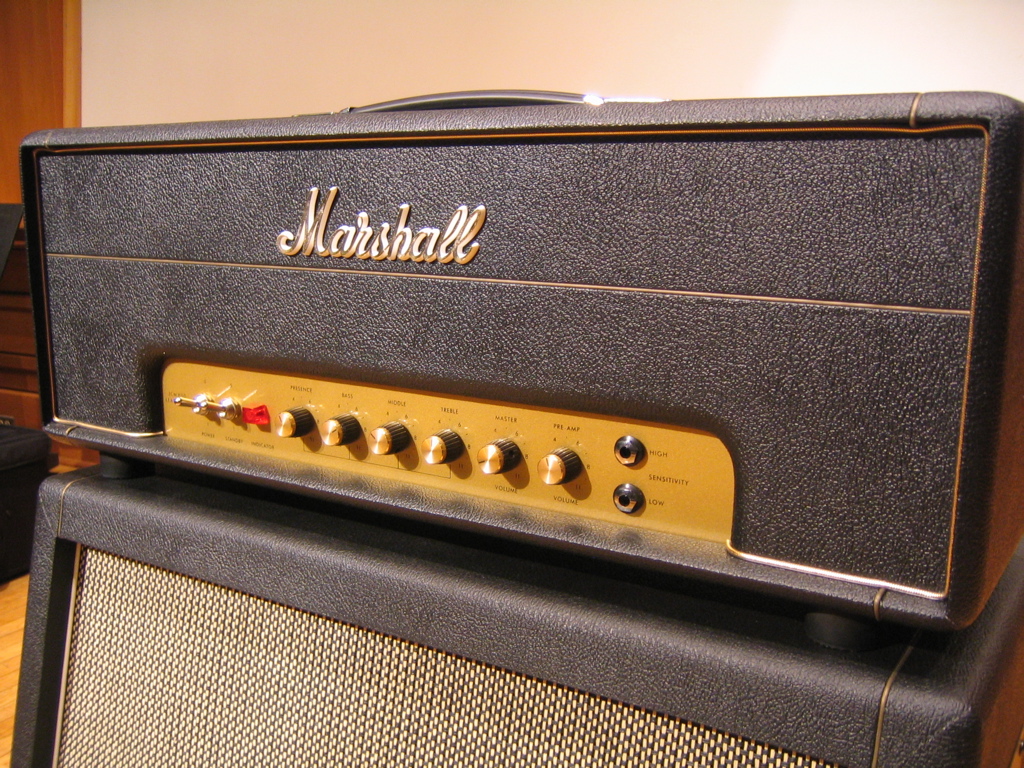
05.10.07 I decided to change the knobs that shipped with the kit to more familiar Marshall style knobs. Here's a nice close up of the faceplate too.
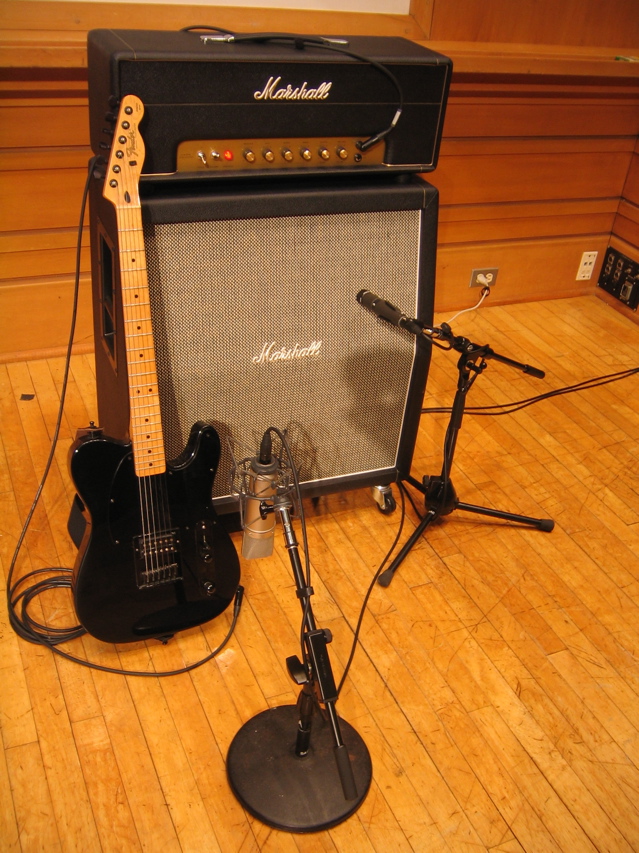
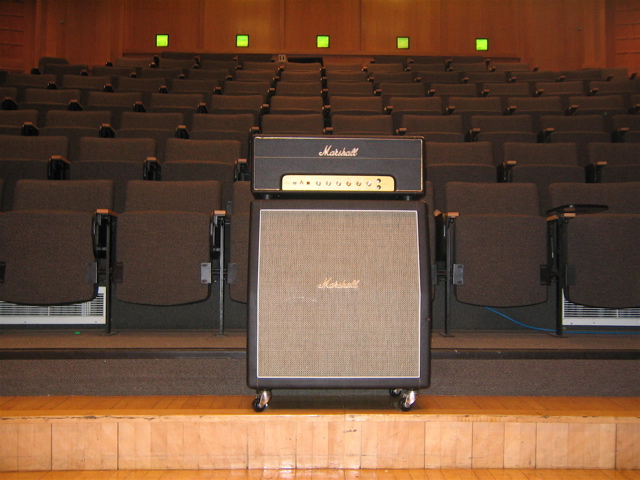
05.11.07 I finally got a chance to set up a very short recording session for the JCM800. I used a MacBook Pro with an original Digidesign Mbox (no longer made) running ProTools 7.3.1. In Mbox channel 1 I had a Neumann U87 about 18 inches from the cabinet on the bottom speaker. In Mbox channel 2 I had a classic Shure SM57 right up against the grill of top speaker. The clips came out ok but I wish I had some room mics up because these recordings do not do this amp justice! I am heaven because this amp has the biting crunch I have been looking for for a very long time. I am sure it is not everyone's cup of tea but I am in love with this amp! The tone is extremely present and in your face. I only had an hour in the recital hall but I got a few quick clips done. No jokes about my sloppy guitar playing!
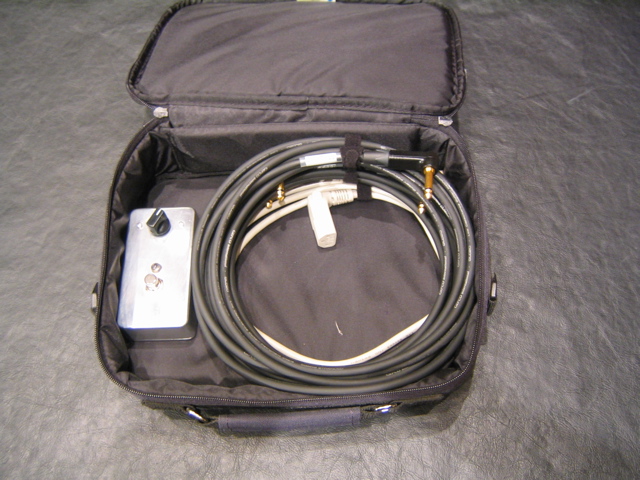
Here is the recording set up:
The cable, constructed by me, is a 15 foot Gepco GLC20 with Neutrik NP2RX-B goldplated angled ends - Oooh, how posh!
Clip 1: Crunch - Shure SM57 Mono
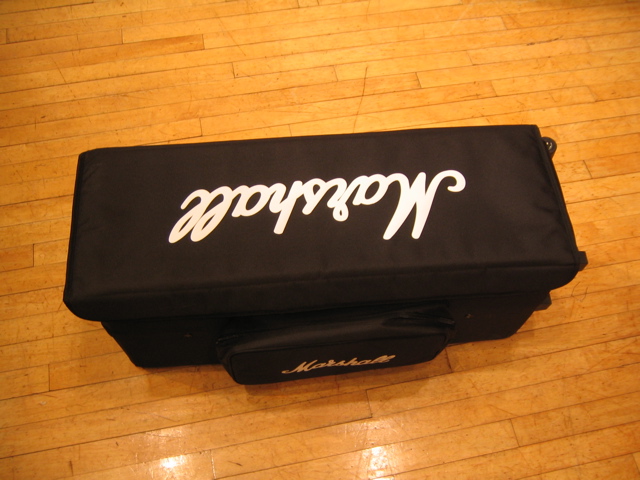
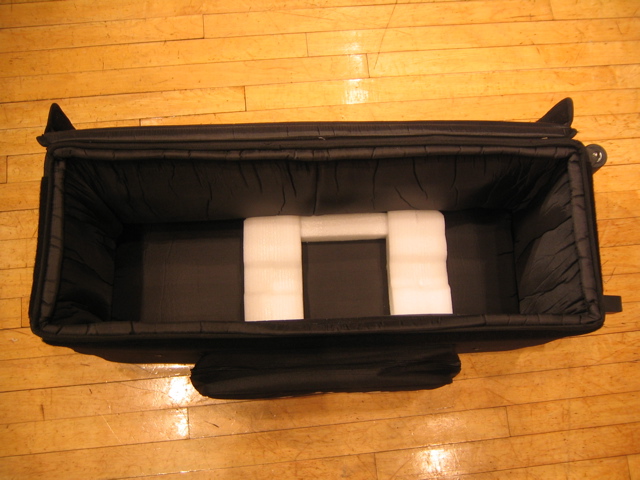
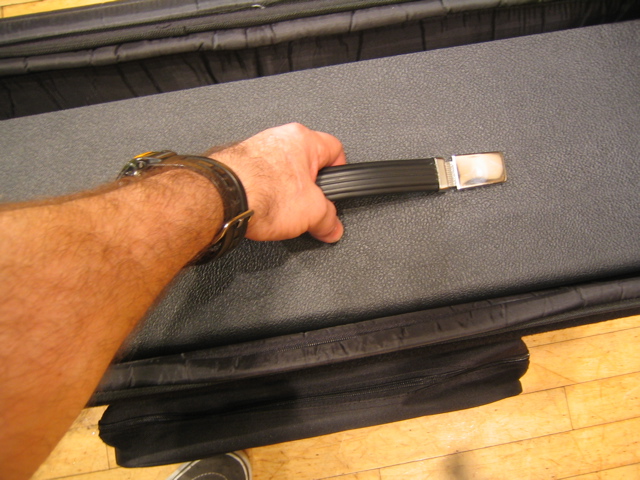
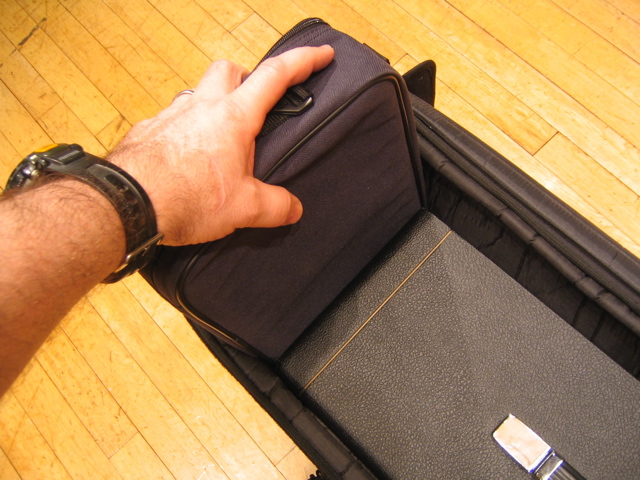
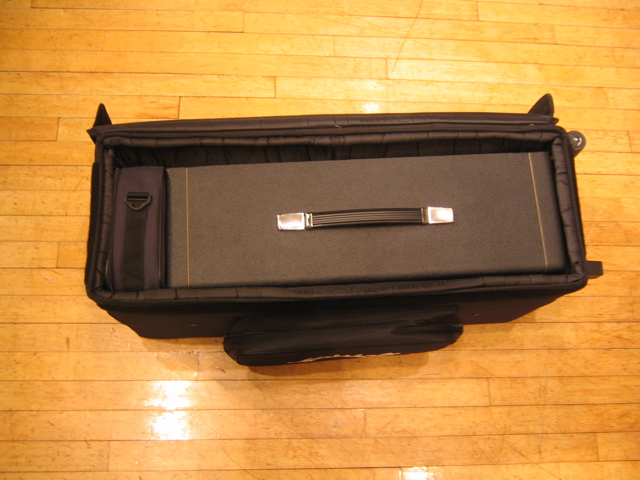
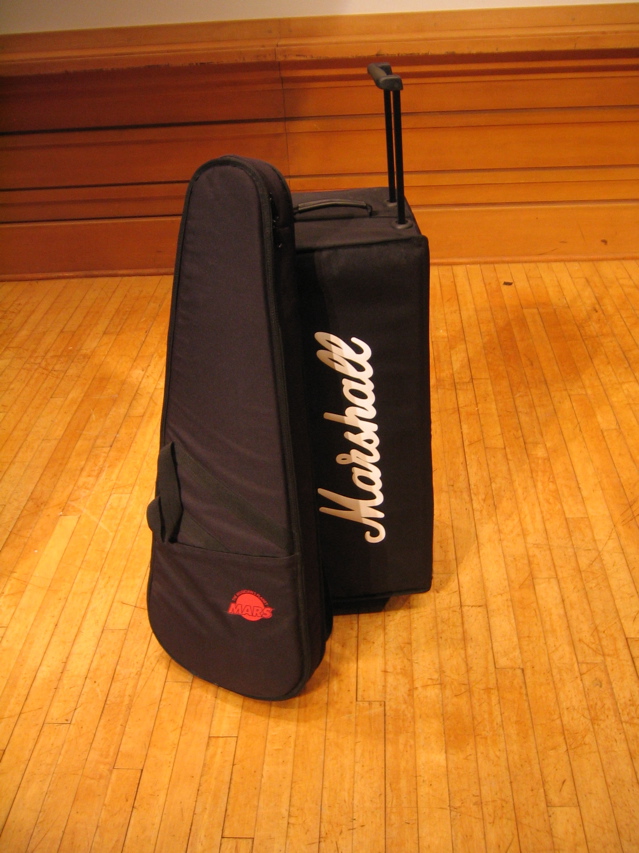
05.12.07 To carry the amplifier i didn't want to just bonk it around into cabs so I bought this really cool Amp head bag called the WHB (Wheeled Head Bag). It is really for the larger sized Marshall heads but as usual, I had a plan.
HOME |


I don't mind questions
but please donate!
Other Builds:
JTM45
JCM800 2204 "Jeanie"
JCM800 2204 "Vickie"
JCM800 2204 "hell"